I purchased 4 pieces of foam (13.5 inches or 3/8 yard each). We chose a 4 inch foam based on Kairah's sit tests in the store. (Cost $12 each after discounts) We also picked out two colors/designs of fleece for each pillow. ($5 - $7 per yard after discounts) I purchased a yard per color/design. I know I did not need that much, but it can be used for other fun projects the girls could do. So each pillow cost me roughly $24, but could have been less if I would have done the math in the store. LOL

First, I measured my foam all the way around both ways. My measurements were approximately 36" by 56". I then divided by 2 and added 6 to each (36/2=18+6=24 and 56/2=28+6=34). This gives me the dimensions of my fabric pieces with 3" tabs on all sides to tie together. (Whew, done with the math :D)

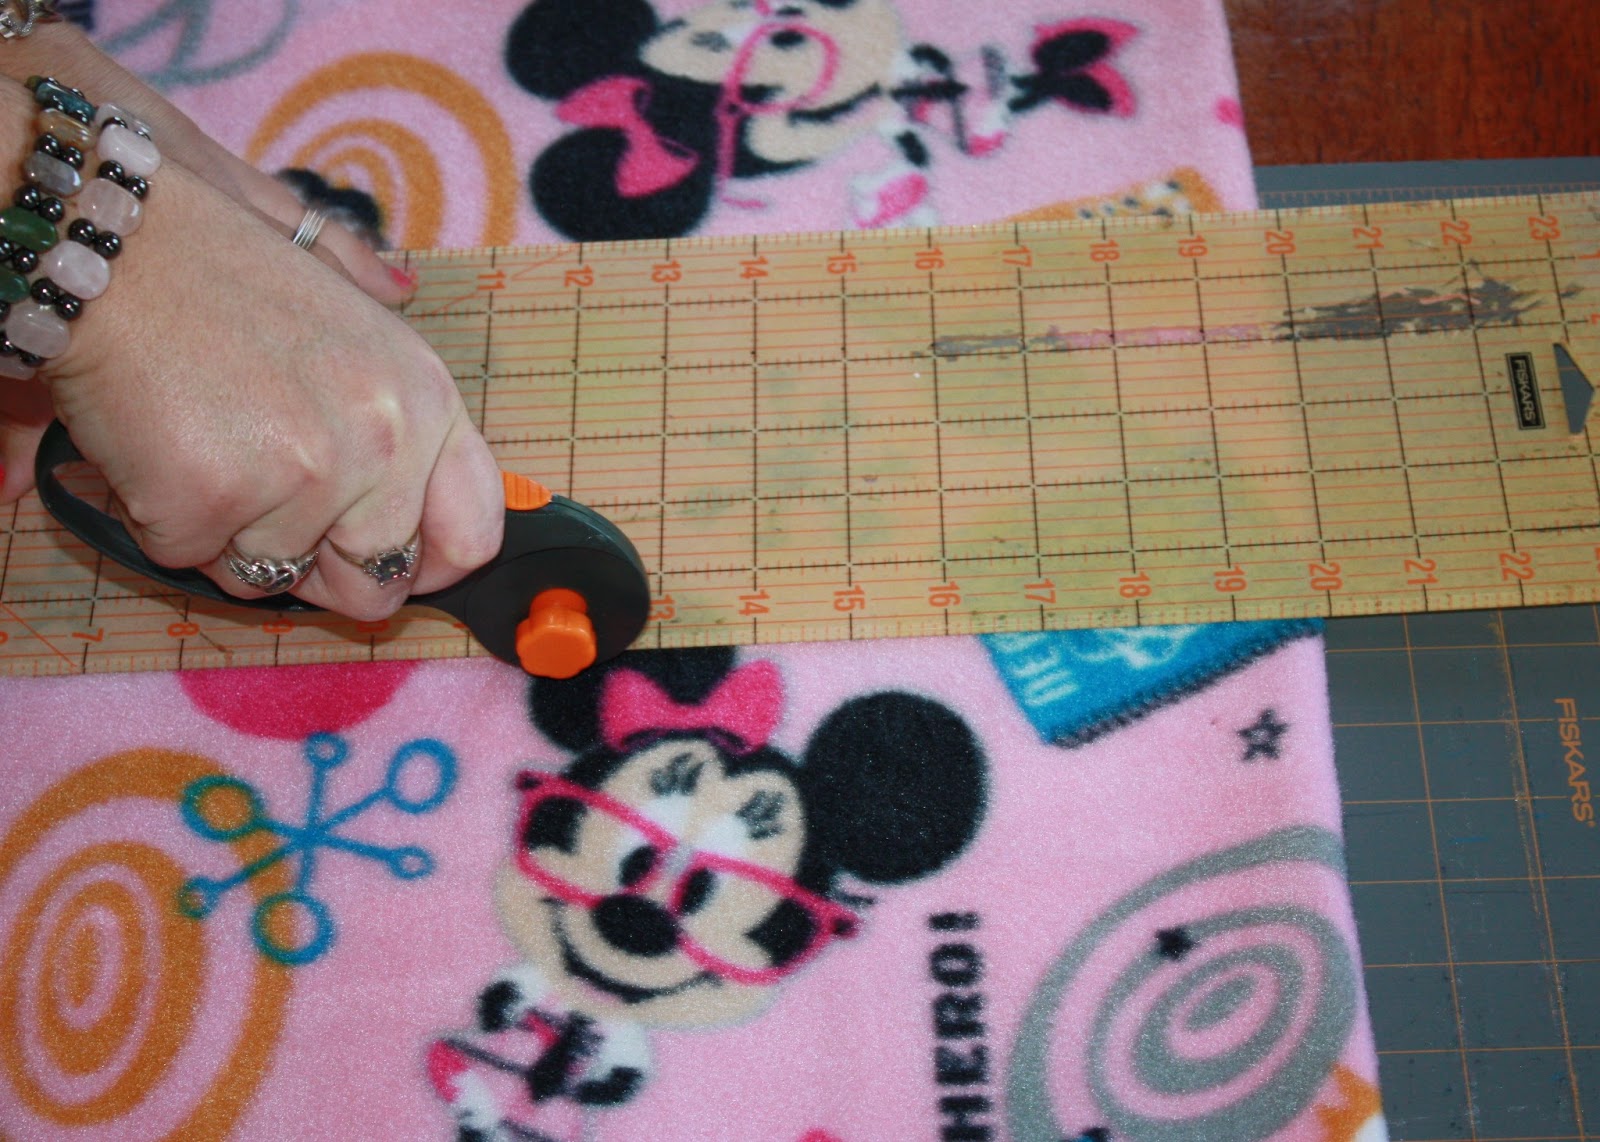
Then I trimmed the "ugly" edge off the fabric.
Next, I measured and cut my fabric the correct dimensions. (24"x 34")

I measured 3 inch by 1 inch tabs. There are many ways to do this, but I just used a tape measure and straight ruler. I measured 3 inches from the edge, laid down the ruler and began cutting. I used a rotary first, but preferred the scissors.

Your corners will be completely cut off, 3 inches by 3 inches. Some people chose to do this part before the cutting, but I just do it as I go along.

This is what it looks like when you are done cutting the tabs. You will need to do this for two pieces of fabric.

Next, put the foam in between the two pieces of fabric. Make sure the right sides of the fabric are facing out.

Time to tie! I just tied a regular square knot. There are other fancy ways of tying these no sew projects if you would like to use those. I even had two extra tabs and you cannot even tell. That is how simple this project is.

Here is the finished project. This took me about 30 minutes, start to finish. Kairah was so wonderful to take the pictures. Now I am going to use this tutorial to teach my other 3 daughters how to make their own.
No comments:
Post a Comment